
Your spoon is waiting. Click to see what’s inside. #BakingFromScratch #HomemadeDesserts #DessertInspiration #GlutenFreeDesserts
Warning: reading this Chocolate Mousse Cake Recipe may cause sudden hunger.
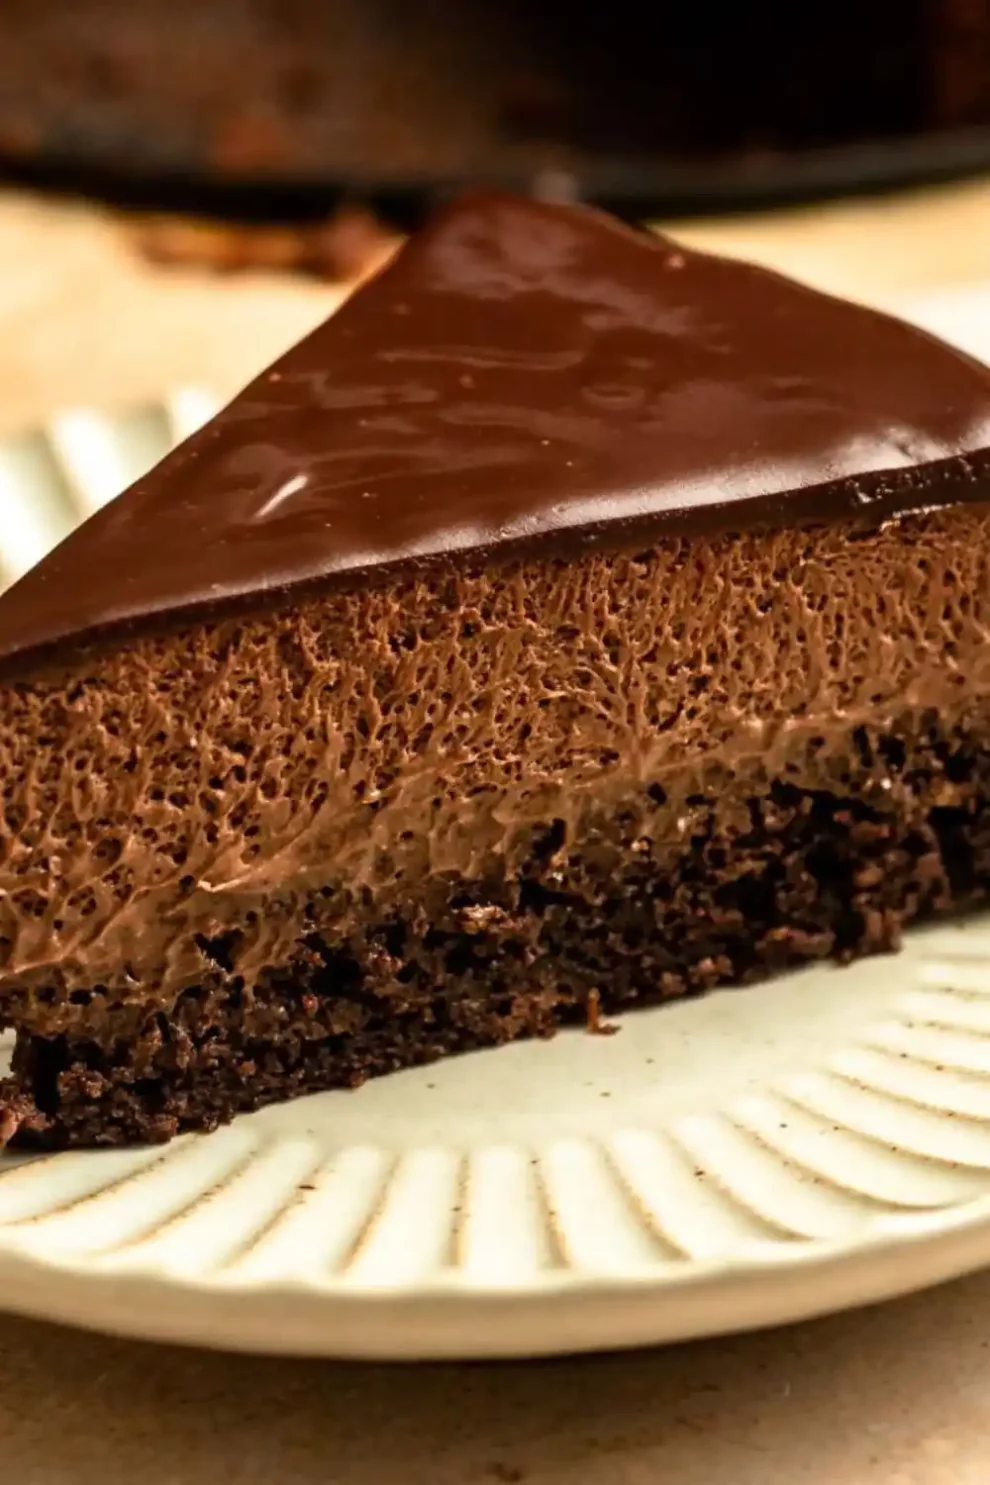
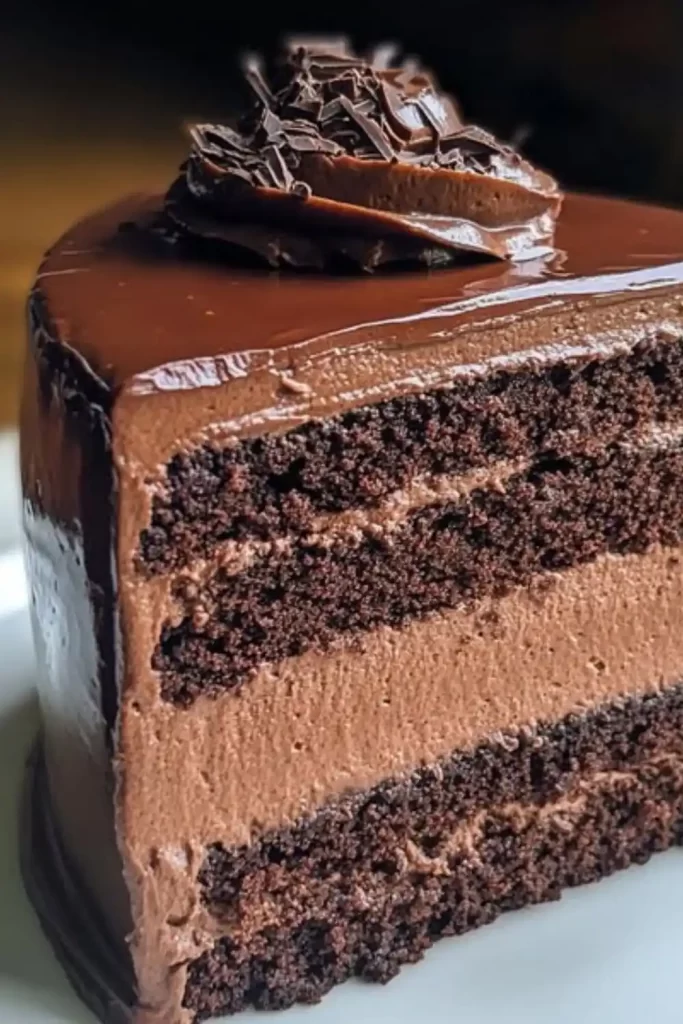
Chocolate mousse cake It is the ideal candy for any chocolate lover. This rich, rich cake is a mixture of thin and light mousse and thick wet cake layers create an unforgettable treatment.
Whether you are preparing for a special occasion, such as a birthday celebration, vacation, or simply immerses in luxurious candy at home, it is certain that this cake will impress. Beautiful, beautiful, beautiful, soft, with thick chocolate cake, making them a delicious, irresistible dessert.
In this guide, we will follow you every step of this parked dessert step, from the ingredients to the finishing touches. Get ready to raise your baking game with this irresistible Moss chocolate cake recipe!
🍽 Recipe preparation equipment
Before you start making chocolate mousse cake, make sure you have the next basic equipment ready to go:
- 9 -inch round frying pan You will need this to bake the cake layers.
- Vessel mixture – Use these to mix mousse and cakes.
- Electric mixer To achieve a thin and mixed mousse.
- Rubber Ideal for abrasion and mixing.
- The level of the cake or an elderly knife – To settle the cake layers.
- Pipe bag (optional) – If you want to activate the mousse on the top of the cake.
- Cold tray or refrigerator – It is necessary to allow the mouse to be perfect.
- Heat -resistant bowl – For the melting of chocolate.
- Double boiler or microwave Gently melting chocolate.
Getting all your equipment ensures a smooth and successful baking experience!
🧁 What do you need to prepare chocolate mousse cake?
Cake components:
- 1 ½ cups of multi -purpose flour
- 1 ½ teaspoon of baking powder
- ¼ 1 teaspoon of salt
- ¾ Non -local cocoa powder cup
- 1 cup of beloved sugar
- 2 large eggs
- 1 teaspoon of vanilla extract
- 1 cup full milk
- ½ cup vegetable oil
- ½ cup boiled water
Chocolate mousse components:
- 8 ounces of half an ounce (strictly cut)
- 2 cup heavy cream
- ¼ A cup of crushed sugar
- 1 teaspoon of vanilla extract
- ¼ 1 teaspoon of salt
These ingredients collect to create a luxurious cake with a soft and smooth mousse that will ask your guests seconds!
🥄 How to make easy -step chocolate chocolate cake ?
Step 1: Prepare the cake pan
Heat your oven to 350 ° F (175 ° C). Bulk and flour a 9 -inch round frying pan To ensure not to stick to the cake. You can also connect the bottom of the university degree to obtain additional security.
Step 2: Mix the dry ingredients
In a large mixing bowl, mixed preciseand baking powderand saltAnd Cocoa powder. Put them together to ensure that there are no blocks, and the dry ingredients are distributed evenly.
Step 3: Combining wet components
In another bowl, hold together sugarand eggAnd Vanilla extract. Add Milk and Vegetable oil. Stir until it becomes smooth and well.
Step 4: Add dry ingredients to wet components
Add the dry ingredients slowly to the wet ingredients while mixing with a hand mixer or whisk. Continue until the mixture becomes soft and free from speech.
Step 5: Add boiled water
Finally, a fuss in Boiling water. This will help the mixture become thinner and lead to a more moisture cake. The mixture will be completely liquid at this stage, but that is good!
Step 6: Bake bread
Pour the mixture into the stomach cake frying pan and bake for 30-35 minutesOr until your toothpicks are inserted into the middle, it comes out clean. Once baking, let the cake cool in the pan for 10 minutes before moving it to a wire shelf to cool completely.
Step 7: Preparing chocolate mousse
While the cake cools, preparing the mousse. In a heat -resistant bowl, melt Half a candy chocolate Above a double kettle or in the microwave, stirring from time to time to prevent burning. Once it melts, let it cool a little.
In another bowl, overpowering Heavy creamand Crushed sugarand Vanilla extractAnd salt Until solid tops are formed.
Step 8: Combining chocolate and cream
Gently fold the melted chocolate in the whipped cream mixture. Make sure not to release the mousse. It should remain light and delicate.
Step 9: Collecting the cake
Once the cake is completely cooled, settled the top with an ecclesiastical knife or cake level if necessary. The cake slice into two layers. Share a generous amount of mousse on the bottom layer, then place the second layer of the cake on top. Top with more mousse and spread it evenly across the entire cake.
Step 10: Kill the cake
Put the collected cake in the refrigerator for at least 2-3 hours to allow the mouse to set and install.
🍫 Differences
If you want to add a development to the chocolate mousse cake, there are many differences to explore:
- Flacks of classesYou can combine different layers of flavors into the cake by adding fruits such as berries or strawberries between the cake and mousse layers. Their richness of chocolate is beautifully completed.
- Moussa flavored: Plated vanilla extract for a different flavor, such as coffee, almonds or orange, to excite a unique touch in the mousse.
- Ganash chocolate is at the forefront: For an additional layer of leniency, sprinkle the chocolate ganash over the top of the mousse cake. Ganache adds the bright end and the deeper chocolate flavor.
- Crunchy: Add crushed nuts, such as almonds or hazelnuts, between layers to ensure the crisis and texture.
- Gluten -free option: Replace the normal flour with a gluten -free alternative, ensuring a gluten -free chocolate cake.
Experience these differences can make your chocolate mousse cake more customized!
🍴 Cooking notes
- CakeBoiling water in the cake dough helps to create a wet tissue. Make sure to follow the recipe closely to get perfect crumbs.
- Moss consistencyMousse should be light and delicate but still carry its shape. Do not overuse the whipped cream, or it will become very harsh.
- Cold timeMake sure to allow the mouse to set the refrigerator for a few hours. This guarantees mousse companies and holds their shape at slices.
- SubmissionThis cake is rich, so the small slides are perfect. You can serve it with a whipped doll or some fresh berries on the side to balance the wealth.
🍽 Submit suggestions
It is better to serve the chocolate mousse cake. Here are some ways that you can serve:
- cream: Add a doll of fresh whipped cream to each additional creamy slice.
- Berries.
- Chocolate carpentry: Set with chocolate shaving elegant chocolate.
💡 Useful tips
- Cool the cake: Ensure that the cake is completely cold before adding the mousse. This prevents mousse from melting and guarantees a beautiful width.
- Perfect skinWhen hitting the cream for the mouse, make sure that the cream is cold and that the mixture of mixing cools. This helps to achieve the best size and texture.
- SmoothFor a very soft mousse, take off the cocoa powder and powder sugar to prevent any blocks from forming.
- Cake: If you want a thinner cake layer, use a smaller cake frying pan and reduce the baking time a little.
🔑 Tips for the best chocolate mousse cake
- Using high -quality chocolate: The chocolate that you use in the mousse is the key to a rich and deep flavor. Choose a half -quality or sweet dessert chocolate for the best results.
- Do not exceed a chilling time: Leave the cold cake for the recommended time to ensure that mousse is appointed properly. Rusing this step can lead to mousse.
- Cake layer level: To ensure the presence of elegant layers and even, settle the cake layers before collecting the mousse and cake.
⏱ Timing
- Preparatory time: 30 minutes
- Cooking time: 35 minutes
- Cold time: 2-3 hours
- Total time: 3 hours 5 minutes
🥗 Food information
- Thermal calories: 450 kilos of lion (for each meal)
- protein: 6G
- Sodium: 200mg
- fat: 30 g
- Carbohydrates: 50g
- Fiber: 4G
- sugar: 30 g
❓ Common questions
Q1: Can I use milk chocolate instead of semi -final chocolate? A: Yes, you can use milk chocolate, but the mousse will be sweeter and less intense in the flavor of chocolate.
Q2: How do I store a residue cake? A: Store a residue cake in the refrigerator in a sealed container. It will remain new for up to 3-4 days.
Q3: Can I make this gluten -free cake? A: Yes, you can use gluten -free flour instead of multi -purpose flour to make this gluten -free cake.
Q4: Can I freeze this cake? A: Yes, you can freeze a mousse cake. Just wrap it tightly in a plastic cover and aluminum chips, and it will last up to 1-2 months.
🌟 conclusion
Chocolate mousse cake It is a rich and tolerant dessert for any occasion. Its mixture of mousse and layers of decomposed chocolate cake creates an incredibly impressive and delicious candy.
Through this recipe step by step, you will be able to create a masterpiece that everyone loves. Whether you are serving it for a holiday or birthday, or as a sweet treatment for yourself, this cake will surely become a favorite!
Enjoy this process, and most importantly, enjoy every bite of this divine Chocolate mousse cake!
If you want to discover tons of amazing recipes, check out my website >> Best Recipes online <<
Tags: